Wednesday, August 4, 2021
Mix of things created in July
D&D Hit Point Trackers
so I came up with these trackers so easy to make and use during the games.
All that is needed is some foam board and a old cereal box and a tooth pick
to make the bases of these trackers.
But who just wants this plain mess to track their hit points i know my players wouldn't want that so I get busy taking them all apart and decorating them to fit each players game play.
Here is how I did 1 of them
I stained the front and back pieces black and added a gold trim around the disks. I also added packing tape over them for added strength and so that they would turn more easily.
Scratched in some wood grain and plank lines to look like wood then painted.
Coffee stained some paper to make a scroll used tooth picks to make the scroll handles
and used some jewelry spacer for the decorative handles.
Attach scroll to top wood piece cut out the holes foe the number and put it all together.
Here are all of the designs I came up with for my adventures
Scroll laying on stone ground
Open chest full of gems
Stone ground covered in skeleton pieces
A pagan altar
A scroll on wood with a feather quill
a open chest full of gold and scrolls
Bards instruments and music sheets laying on wood floor
and finally a plain wooden floor
still not sure what i want to do to to this one .
I hope you find this easy to follow and come up with some great trackers of your own.
Would love to see what you come up with!!!
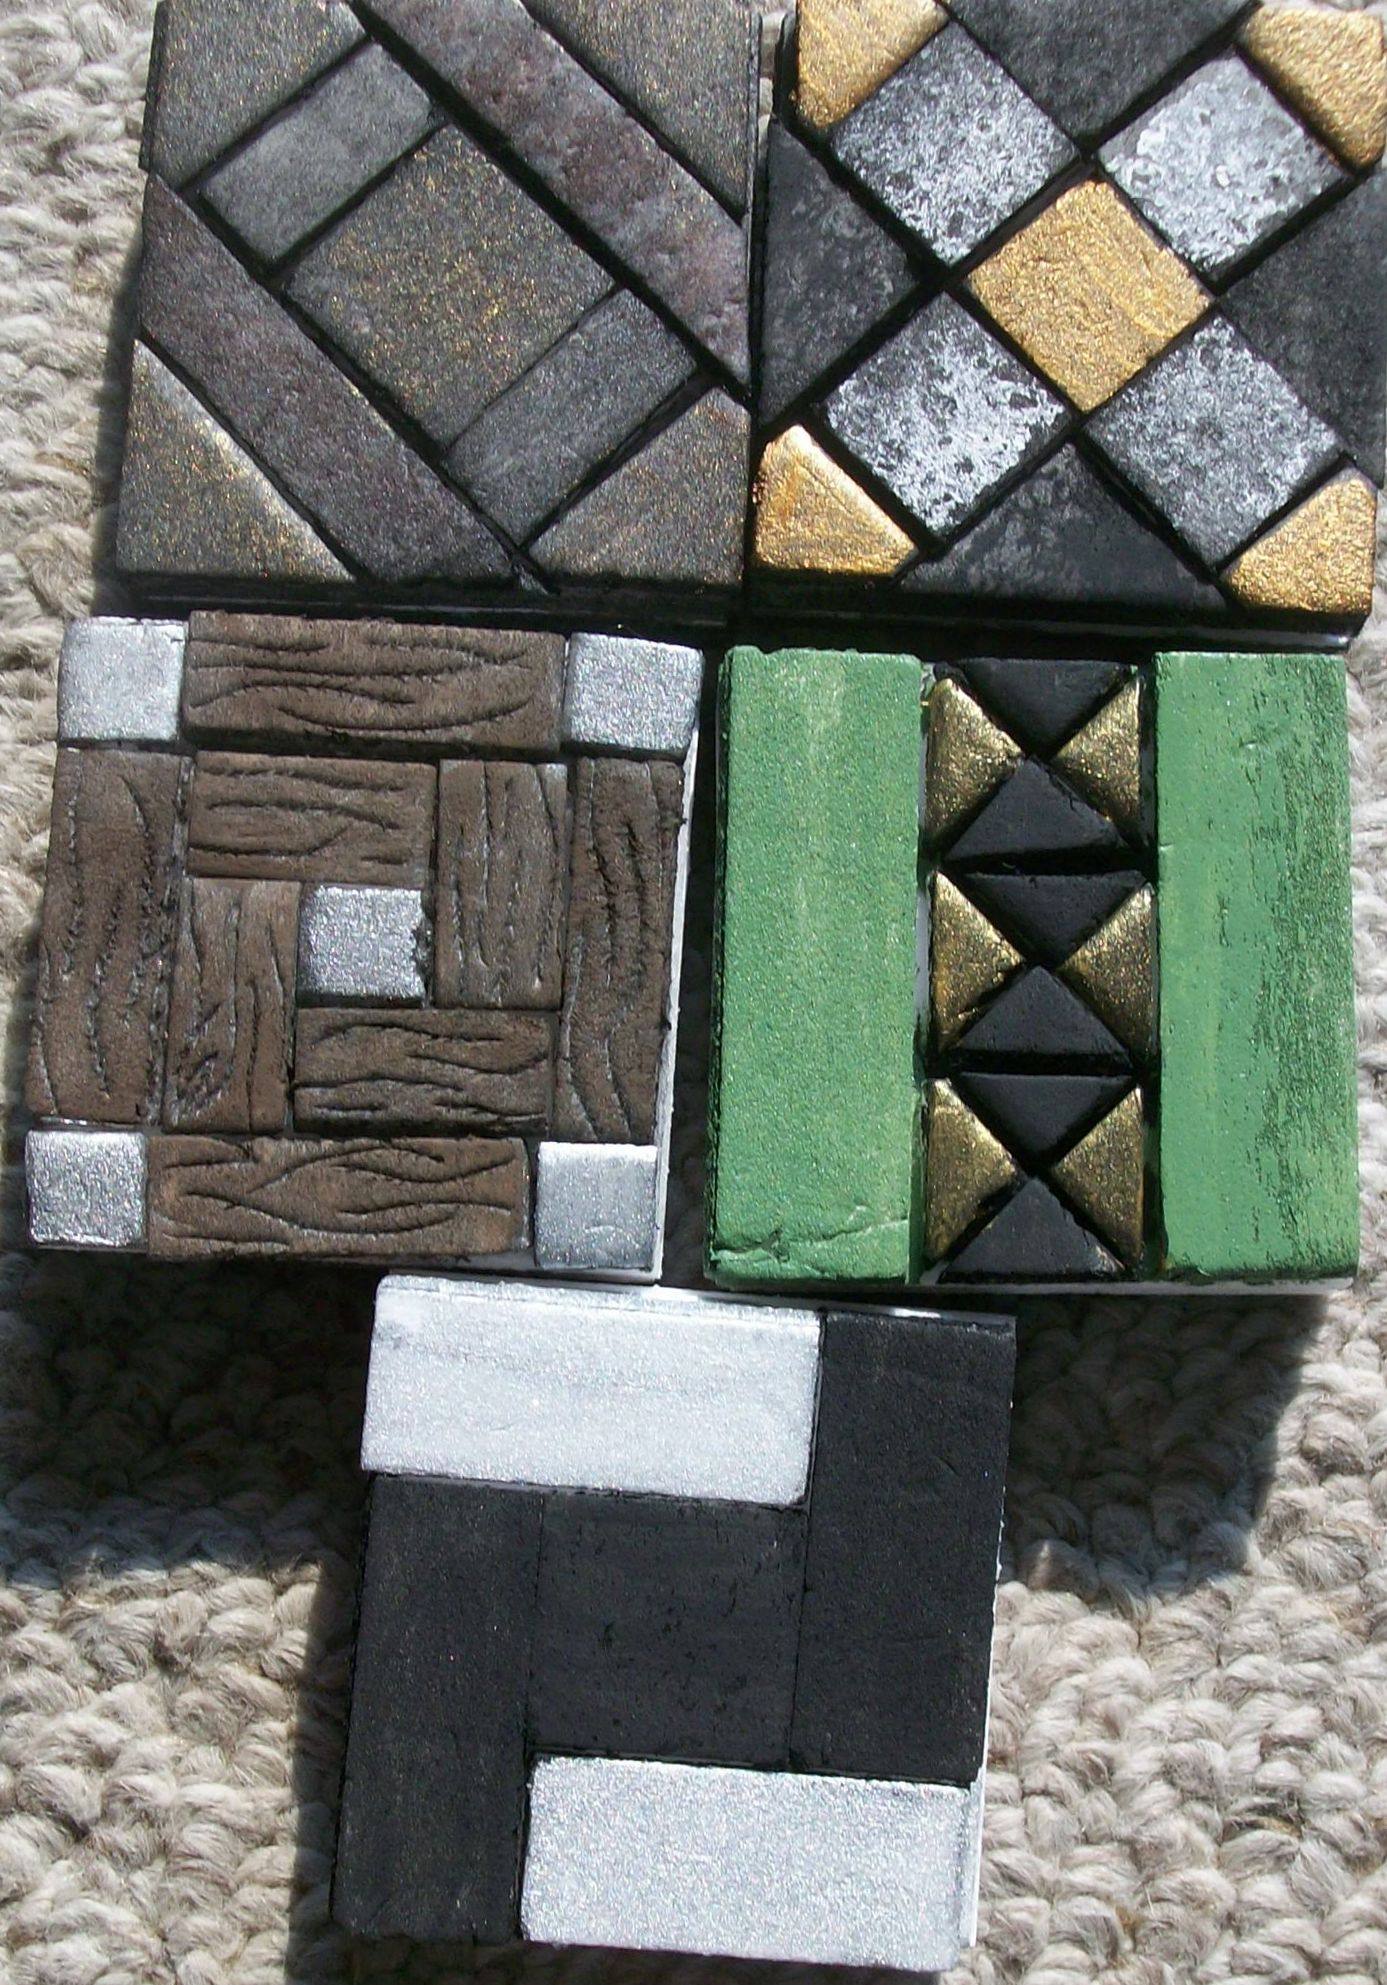
Painted D&D Tile Blanks
Tuesday, February 16, 2021
Sometimes you just have to make something
Woke up around 4am and just had to make something.
mmmmmmmmmmm What to make?
I could use some new sketch books yeah that's it going to make this and then go back to sleep.
Grabbed a piece of foamboard / a roll of painters tape / a bottle of glue / my Tissue papers in / some embroidery floss / a needle / my cutting board / a pin tool / and a stack of paper to fill my book with.
Then I got busy measuring ,cutting gluing, and sewing and in a couple of hours I had these 2 great new books.
This is how they turned out I'm really likening them.
Monday, February 1, 2021
Valentines Heart set
Supplies
Thread
Seed beads your choice of color
Bugle beads your choice of color
Jump Rings
Thin jewelry wire
Clasps
Ear wires
A pair of Jewelry Pliers
This set is very easy to make and can be finished in a couple of hours, depending on your beading skills. But do not worry even a complete beading beginner can do this.
The main pieces to bead will be the hearts and here is a step by step to show you how to make them.
(Make sure to check for sharp ends you do not want to get poked while wearing your necklace.)
Thursday, January 21, 2021
So I’m sitting here thinking what could I make today I could use a new Inspiration board but I need it to also help me keep track of the current projects I am working on or may want to make in the future. So here is what I have come up with. An Inspiration /Project Board and because of covid I am just using supplies I already have in my current art supplies.
Supplies
Foam board 1 sheet
Tissue paper 2 sheets
Ribbon a yard or some scraps
Yarn 1 yard or scraps
Glue
Ruler
Hot glue
Popsicle stick
Scissors or exacto
Start with a 20X30 piece of foam board that you can get at
the dollar store
You will need 5 pieces from this board
1 20 inches X 19 inches
4 20 inches by 1 inch
Cover the 20 X 19 piece with your choice of tissue paper in my example I first glued 1 light green sheet of tissue paper to cover the board. I then had 1 piece that looked like birch wood and glued tat on top of it to give the green color underneath this is also something I had picked up at the dollar store.
For the 20 X 1 inch pieces I painted them black trimming 2 of them down to 17 inches long then wrapping them with the green tissue paper to get a darker green for my frame.
Now just hoy glue the 1 inch strips around board so it looks something like this
Use a scrap piece of yarn to create a hanger for your board and attach it to back you can reinforce the hanger with pieces of a Popsicle stick.
you can just leave it plane like this to use as an inspiration board or add pockets like I did to create little pockets to hold information on the projects that I will be working on.
I used pieces of scrap ribbons to create pockets on the board.
4) 6 inch long pieces
4) 5 inch long pieces
To attach I folded a ½ inch of ribbon on the sides and hot glued to the board once sides were attached added glue on the bottom to create the closed pocket.
Dressing it up a bit more, I added another scrap piece of yarn that i would be able to hang a banner that said create from it. This banner was made from scraps of different papers I had, this is what it ended up looking like. As you can see it is very light weight so light that it could hang on a light switch without moving it. Would love to see your versions of this quick and easy project. Happy crafting to you all.
Friday, December 4, 2020
Double sided Dungeon Tile Designs
Now that you have your Tile Blanks what do you do with them?
Well it is time to get busy designing how your sets will look!
I got out my box of foam board scraps and started playing. Usually when creating a new set I have a certain purpose in mind like a cobblestone floor or a cave floor, that would be needed in an upcoming game, but this time it is different I am just creating them to add to my stash of game resources.
Here are the 4 double sided tiles I will be making over the next couple of months
![]() |
| Side 1 |
![]() |
| Side 2 |
For Side 1
This pattern will take (32) ½ x ¼ of an inch pieces of foam board 16 of which will need to be cut in half, and then place them in a similar pattern using white glue to cover the top of the tile blank.